I was recently given a Capitano compressor head (thanks Craig for helping me with identity and filter) that I hope to turn into a nitrox fill station as a winter project. It needs a motor and some filtration, but I thought the head was reasonable. It does look rough in a couple of spots but as I started to disassemble it, I found its a lot worse than I thought.
There was some water in the crankcase so I decided a complete teardown was in order. This is the first one Ive done and I was surprised to find it fairly simple but some questions have come up so Im turning to the SB experts.
The results so far:
The Crankcase seems good.
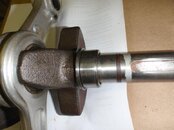
The Crankshaft has some rust on the counterweights but I should be able to clean it off. The bearing surfaces look fine. The crankshaft bearings also look good.
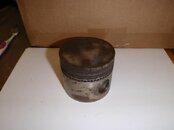
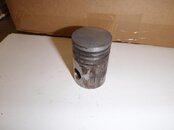
Pistons may have to be replaced
Stage 1 piston looks to be shot Ill try to reclaim it but have low expectations.
Stage 2 piston may be useable but the rings are bad.
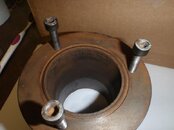
Stage 3 piston and sleeve look pretty good and should be OK.
Im going to hone cylinder 1 and 2 then they should be ok.
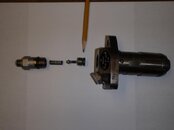
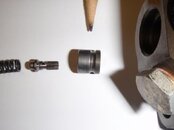
All of the valves will be replaced or rebuilt. The Stage 1 Intake valve plate is missing the last owner was thinking about doing a rebuild but apparently stopped there and let it sit idle.
Im planning on cleaning the air line coolers by running simple green through them and then running a brush through followed by a thorough rinse and dry. I have some 90 cm long endoscope cleaning brushes that should work fine. Ill use the same procedure on the oil lines.
The Oil pump had some water in it so I want to do a complete rebuild.
The questions are:
Is there a way to disassemble the roller end of the oil pump?
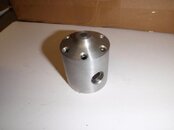
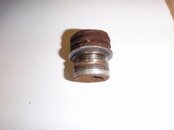
I assume the fat area in the oil line between the pump and the sight glass is a filter. Can it be cleaned? Can it be replaced with a serviceable filter?
If I want to add an oil pressure gauge, where is the best place to put it?
What kind of luck will I have honing the cylinders? I'm guessing the same as a small engine.
I'll get some pictures up shortly
Thanks,
Jeff


