Aqualung/Seaquest flat e-valve dissassembly for pro qd i3?

Please register or login

Welcome to ScubaBoard, the world's largest scuba diving community. Registration is not required to read the forums, but we encourage you to join. Joining has its benefits and enables you to participate in the discussions.

Benefits of registering include

  • Ability to post and comment on topics and discussions.
  • A Free photo gallery to share your dive photos with the world.
  • You can make this box go away

Joining is quick and easy. Log in or Register now!

Telto

New
Messages
1
Reaction score
0
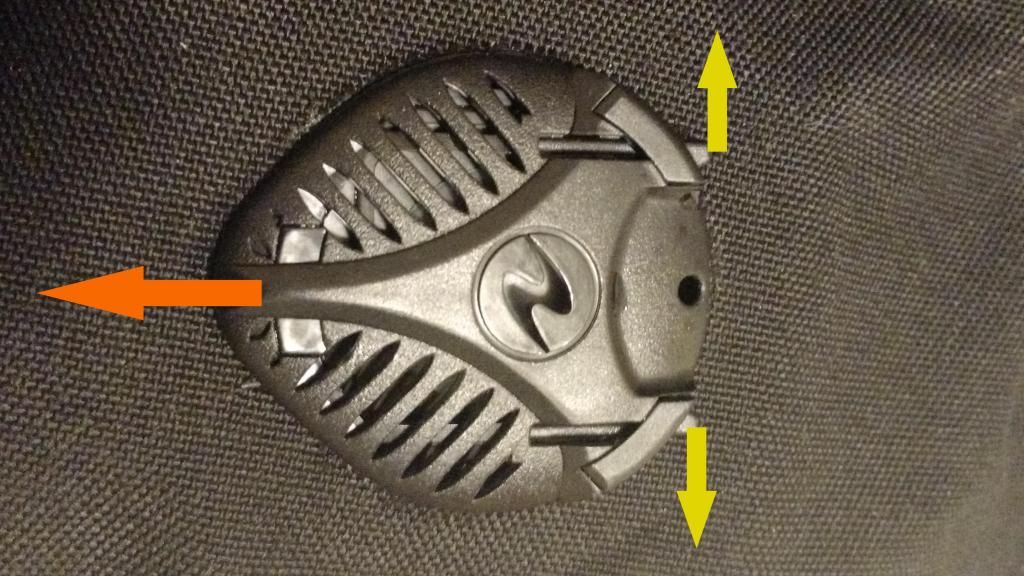
The right shoulder dump valve on my pro qd i3 is leaking air. The air isn't gushing out but at the same time enough is leaking out that I can't surface swim for more than a minute or two before having to inflate again. I tried filling my BC with warm water, shaking it around, and dumping it through the problem valve but that did not fix the issue.

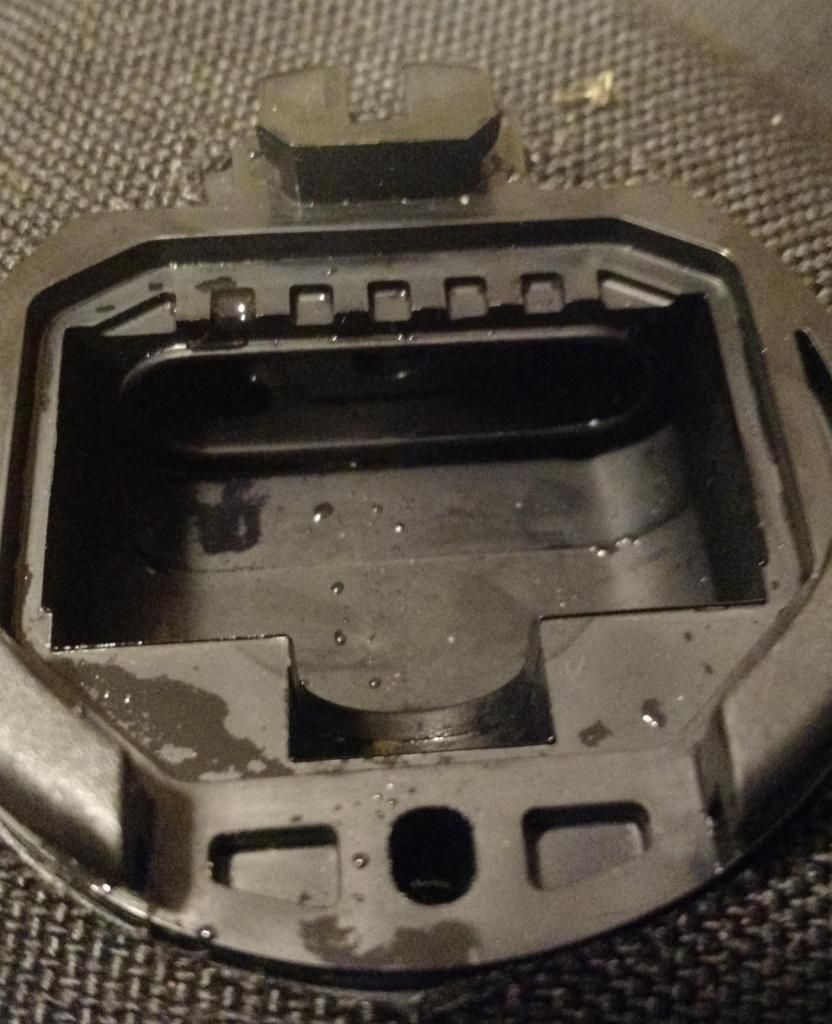
I was wondering if any of you knew how to disassemble seaquest's "flat e-valves" so I could fix the problem? I know this voids the warranty but at the same time I have a feeling it is such a simple problem that it is not worth paying my LDS $30+.
 
Did you ever get any information on how to disassemble the flat e-valve? I am having the same issue.
Thanks
 
Here is how I fixed a problem with my Axiom I3 BC valve. This probably voids your warranty or something like that. Don't blame me if you break it, mess it up or anything else. If you have a warranty, use a qualified service shop, blah blah blah.


Step1_zps6aa39ae8.jpg


Be careful with the small and very soft silicone flapper here, and make sure you don't scrape up the plastic with a metal tool.

Step3_zpsc9e641f9.jpg


Purge valve was stuck open by the actuator being bent off to one side rather than hitting the receiver hole properly.

valveOpen_zpse61554bb.jpg


Green arrow points to where the actuator should hit. The plastic actuator is fairly pliable and can be bent back into straight fairly easily.

Valve_zpsfc66245a.jpg


Make sure the actuator operates properly and will hit the receiver hole properly. Bend this white piece back into straight if necessary.
actuator_zpse6d70a1f.jpg


actuatorClosed_zpsf373e080.jpg

push the actuator rod flush with the main assembly so you can reinstall the purge valve. Test this several times to make sure it's working properly and the actuator isn't going off to the side anymore.
Reassemble the rest in reverse order.
 
https://www.shearwater.com/products/swift/

Back
Top Bottom