


Scotttyd
Contributor
Here are a couple from my first try with my nikon p5100. First two are with inon WA lense and second two no WA, but with AF35 strobe.
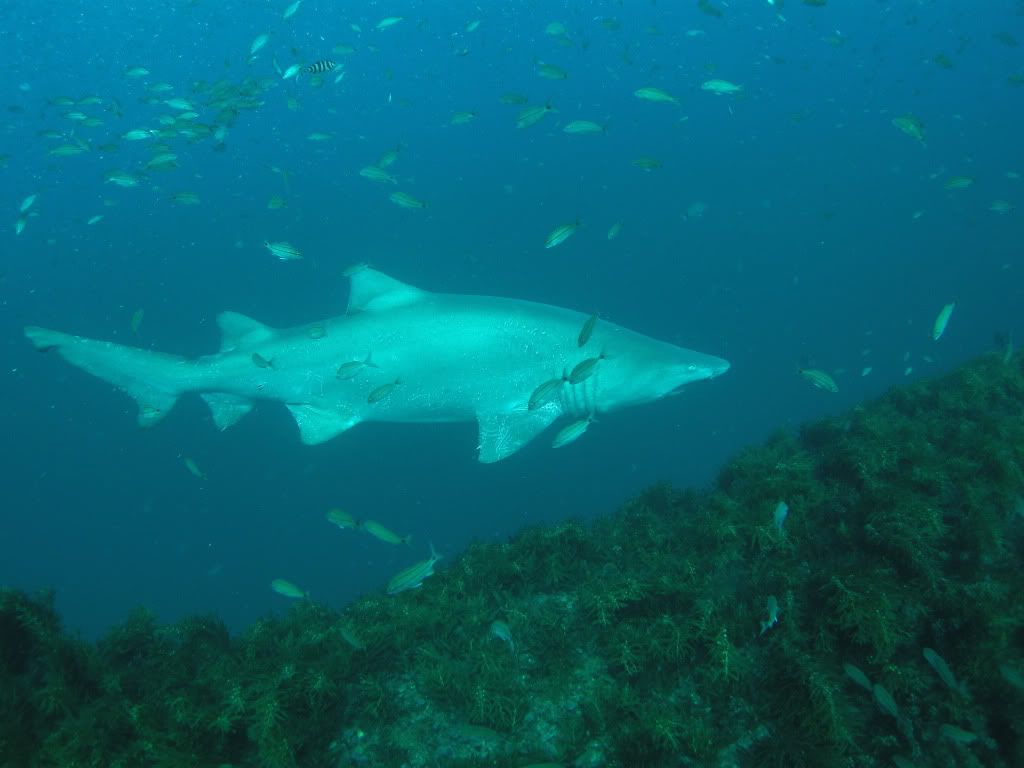
F 3.8 1/60 sec 100iso
The sand tiger really was that white - much lighter than what I am used to seeing. The picture really is about the same as what I acutally saw, I just wish I could have got more color in the bottom of the wreck and more contrast between the water and shark. Any ideas?
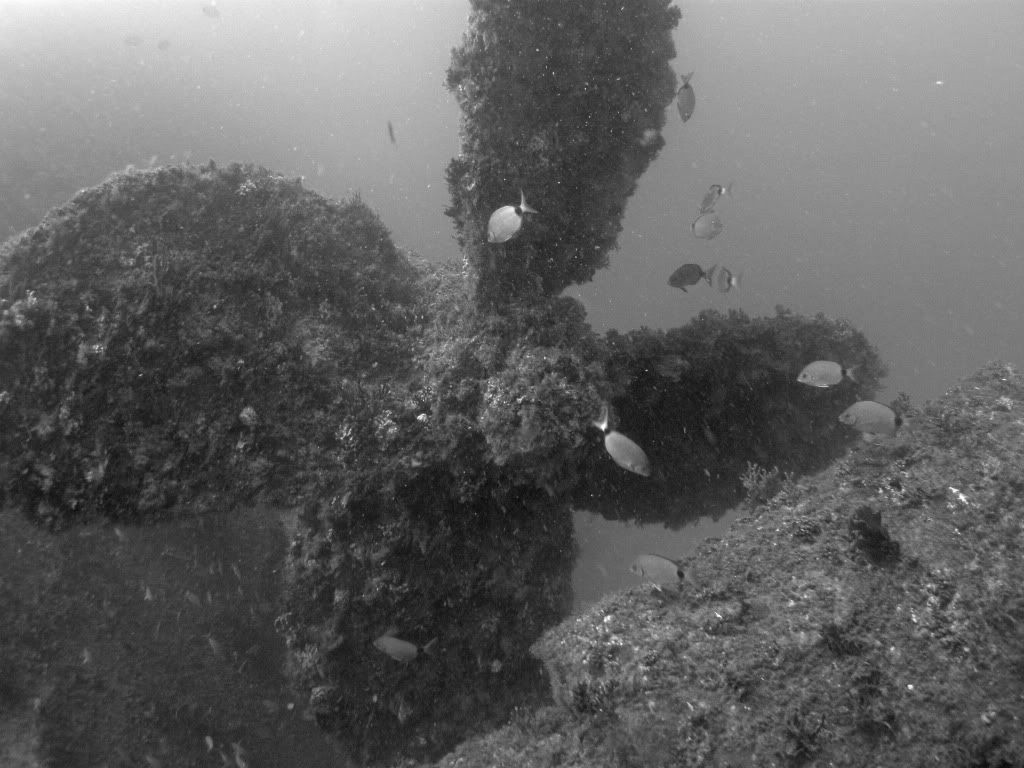
F 4.3 1/30 sec 100 iso
This one does not show it as much, but I was having a lot of "blow out" from the sun whenever I would aim the camera up, how does one get the photos with the sun beam shining in without blowing out the area of the picture?

f 3.4 1/125 sec 100 iso, a little underexposed I think, I would have love to see more color again. My guess is I should have made the strobe intensity higher?

f 4.3 1/125 sec 100 iso
The fish was maybe and 2 inches long, this one I am actually proud of that it turned out good for a beginner.
F 3.8 1/60 sec 100iso
The sand tiger really was that white - much lighter than what I am used to seeing. The picture really is about the same as what I acutally saw, I just wish I could have got more color in the bottom of the wreck and more contrast between the water and shark. Any ideas?
F 4.3 1/30 sec 100 iso
This one does not show it as much, but I was having a lot of "blow out" from the sun whenever I would aim the camera up, how does one get the photos with the sun beam shining in without blowing out the area of the picture?
f 3.4 1/125 sec 100 iso, a little underexposed I think, I would have love to see more color again. My guess is I should have made the strobe intensity higher?
f 4.3 1/125 sec 100 iso
The fish was maybe and 2 inches long, this one I am actually proud of that it turned out good for a beginner.
") I like that.
I like that. . I hope no one take's offense to this, but I even thought of Steve Irwin thinking "BackupBackupBackupBackupBackup"
.jpg)

