


chetflyer
Contributor
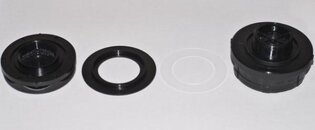
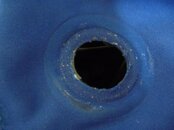
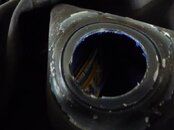
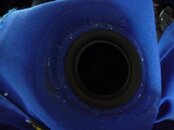
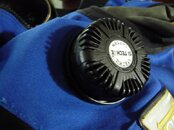
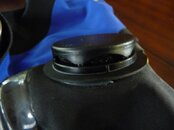
I finally managed to get my old apeks exhaust valve removed from my DUI suit. Now I want to install the new si-tech one. I have all 4 of the necessary parts as seen in photo 1. I have cleaned the silicone off the outside of the suit as seen in photo2. I have not cleaned the silicone off the inside of the suit as of yet as seen in photo3. I am ready to assemble the 4 pieces..#4 on the outside, then the Internal valve port #2 on the inside as seen in photo 4 and then the nylon washer part#3 and then the inside of the valve part#1. What I need to know is whether or not I need to glue the internal valve port to the inside of the suit or can I just tighten everything up without siliconing or glueing anything. I need someone that has installed one of these before to tell me exactly what to do. From what I've heard a lot of people just install the valve into the existing larger hole on the drysuit, without using a valve port or silicone!! I would think that I should use the valve port, as the hole for the apeks valve is larger than required for the si-tech one.If I do need to glue the valve port to the suit..what glue do I use? aquaseal?
Attachments
-
 pict4320jr1.jpg10.8 KB · Views: 117
 -
 drysuit exhast valve photos 001.jpg34.2 KB · Views: 124
 -
 drysuit exhast valve photos 002.jpg20.9 KB · Views: 171
 -
 drysuit exhast valve photos 003.jpg24.3 KB · Views: 122
 -
 drysuit exhast valve photos 005.jpg36.6 KB · Views: 137
 -
 drysuit exhast valve photos 006.jpg21.4 KB · Views: 162
