You are using an out of date browser. It may not display this or other websites correctly.
You should upgrade or use an alternative browser.
You should upgrade or use an alternative browser.
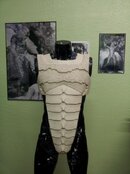
Creature from the black lagoon "Gill Man".
- Thread starter Zen Diving Inc.
- Start date
Please register or login
Welcome to ScubaBoard, the world's largest scuba diving community. Registration is not required to read the forums, but we encourage you to join. Joining has its benefits and enables you to participate in the discussions.
Benefits of registering include
- Ability to post and comment on topics and discussions.
- A Free photo gallery to share your dive photos with the world.
- You can make this box go away
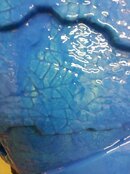
For this mold my first coat i'm using mold star 30 which normally isn't brushed on... When first mixed its pretty thin and this helps get the silicone down into the cracks to pick up the detail in the sculpt. I am also using a smaller brush and really trying to work it into the cracks versus just slapping it on.
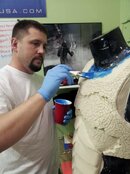


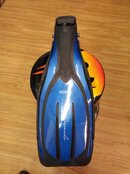
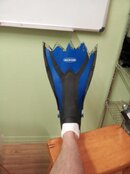
If you ever wanted to know how to make your own fins then pay attention to this portion of the build. I am using a set of genesis fins as an armature. What I sculpt around it will be the new fins/monsters feet. You could also build an armature out of wire and wood, what i'm doing is a huge time saver since I have much work to be done. Regardless the process is the same.
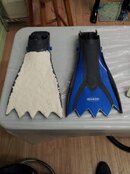


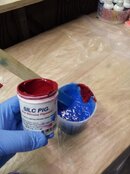
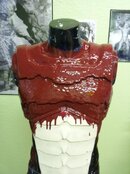
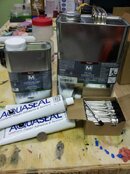
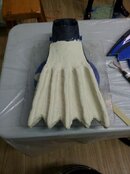
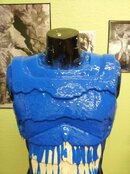
From left to right:
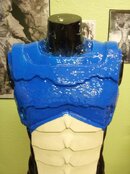
- Added color to silicone to ensure even coverage (visually). - This helps you see what you might have missed.
- 3rd coat applied (looking for 1/2inch thickness), I would note here that silicone is easy to clean up when cured. It rarely sticks to anything but itself and your clothes...
- Somebody asked me today (not here) how I was going to mount this to a wetsuit... With a whole lot McNett products!
- Building up the clay on the fins before sculpting.
And now for a brief intermission, Merry X-mas to all! Have a great holiday and a happy new year! I will be back after X-mas.
Attachments
It wasn't just your pic. The entire database after 12/21 was corrupted and all posts from then on were lost. Mayans were right about some things.
It wasn't just your pic. The entire database after 12/21 was corrupted and all posts from then on were lost. Mayans were right about some things.
ah ha.... Ok now I feel like an arss... I just reported my last post to see what the deal was... It didn't seem right... Thanks Jim!
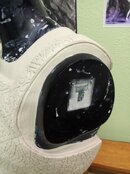
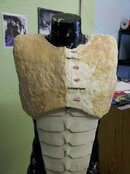
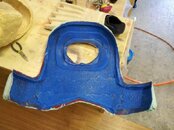
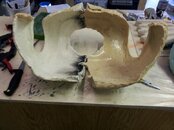
Back to work  Ran into a couple of issues. Ordered 1 product got the "new and improved" version and I cant say I'm impressed... The new Plasti-Paste sets very fast and is hard to work into a smooth even finish... I think next time I will just use fiberglass... The mannequin is proving to be a pain, mostly due to the fact that its not shaped like a real person... If we only had the bodies of mannequins (college basketball players lol) I wouldn't have to add so much clay... Anyways I'm altering the position of the arms to prep it for a good amount of clay, Im sure you can see the issue below lmao... And the mold is pretty much complete. If I wasn't diving 2mrw I would have brushed in the rubber for the first pull, I should have a finished part saturday morning!
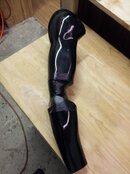
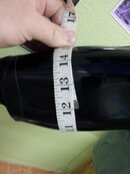
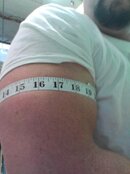


yeah , I'm with you on the "new and improved" thing most times leaving something to be desired
Great work !!
Heh ... wonder if this new "wetsuit" will be good in cold water
Great work !!
Heh ... wonder if this new "wetsuit" will be good in cold water
.....now where did I put those red/blue glasses so I can fully appreciate these pictures?
Similar threads
- Replies
- 11
- Views
- 1,426
- Replies
- 1
- Views
- 174
Trip Report
BEQA LAGOON RESORT AUGUST 2023
- Replies
- 12
- Views
- 2,274


