Snorkeling photos

Please register or login

Welcome to ScubaBoard, the world's largest scuba diving community. Registration is not required to read the forums, but we encourage you to join. Joining has its benefits and enables you to participate in the discussions.

Benefits of registering include

  • Ability to post and comment on topics and discussions.
  • A Free photo gallery to share your dive photos with the world.
  • You can make this box go away

Joining is quick and easy. Log in or Register now!

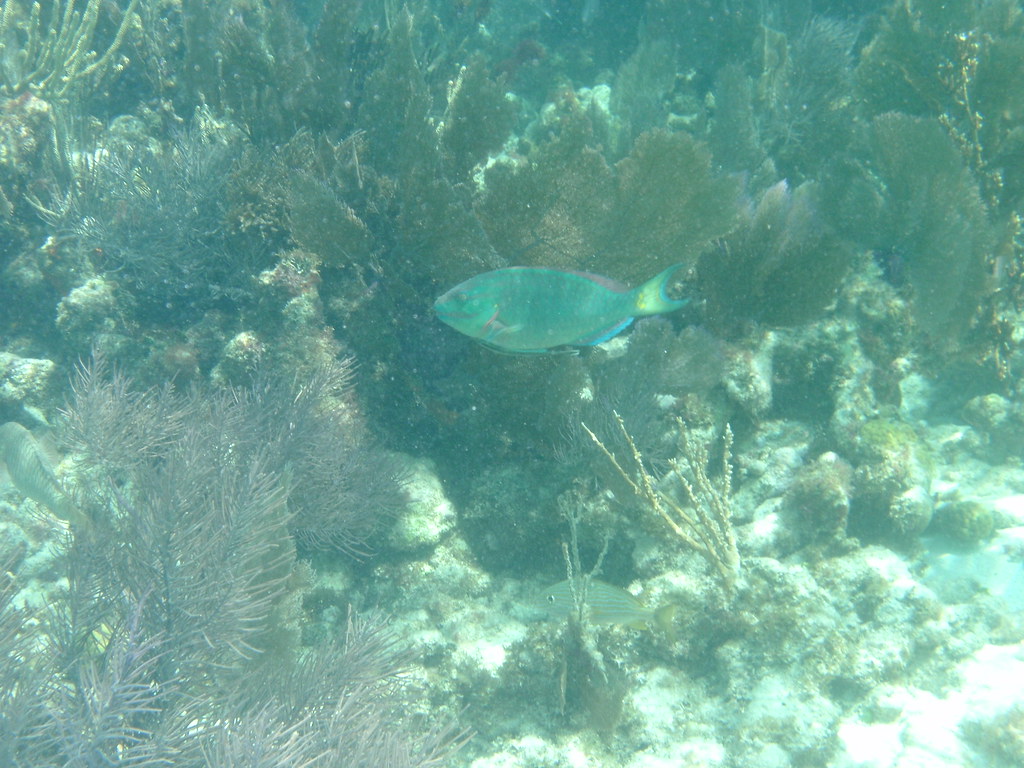
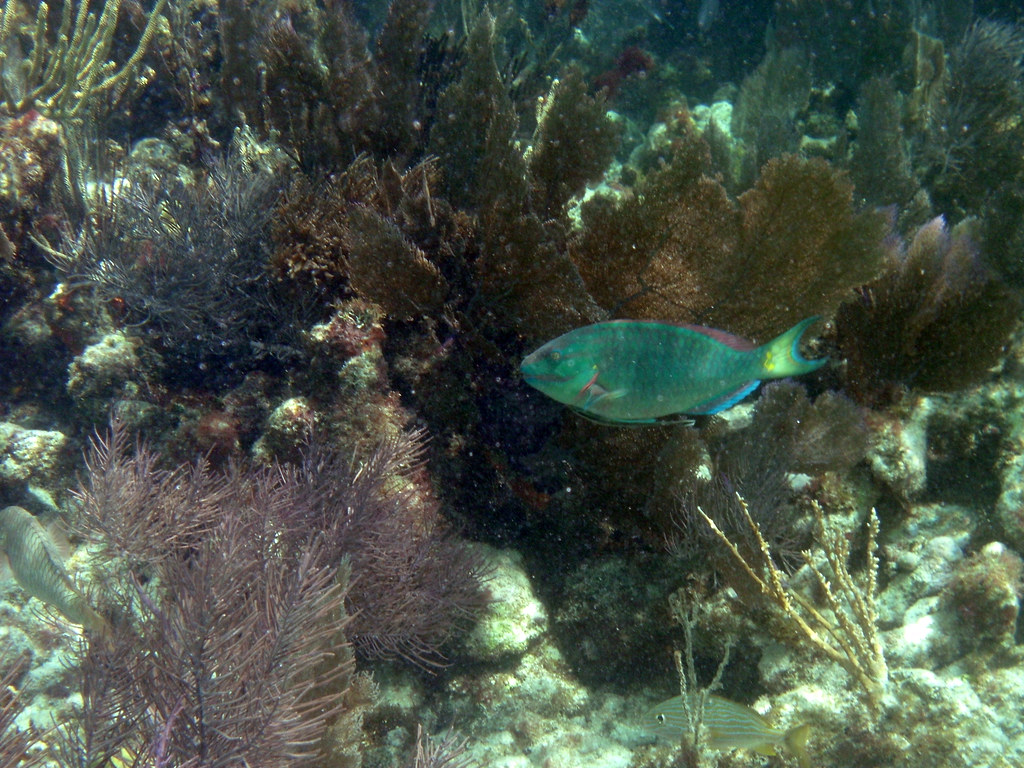
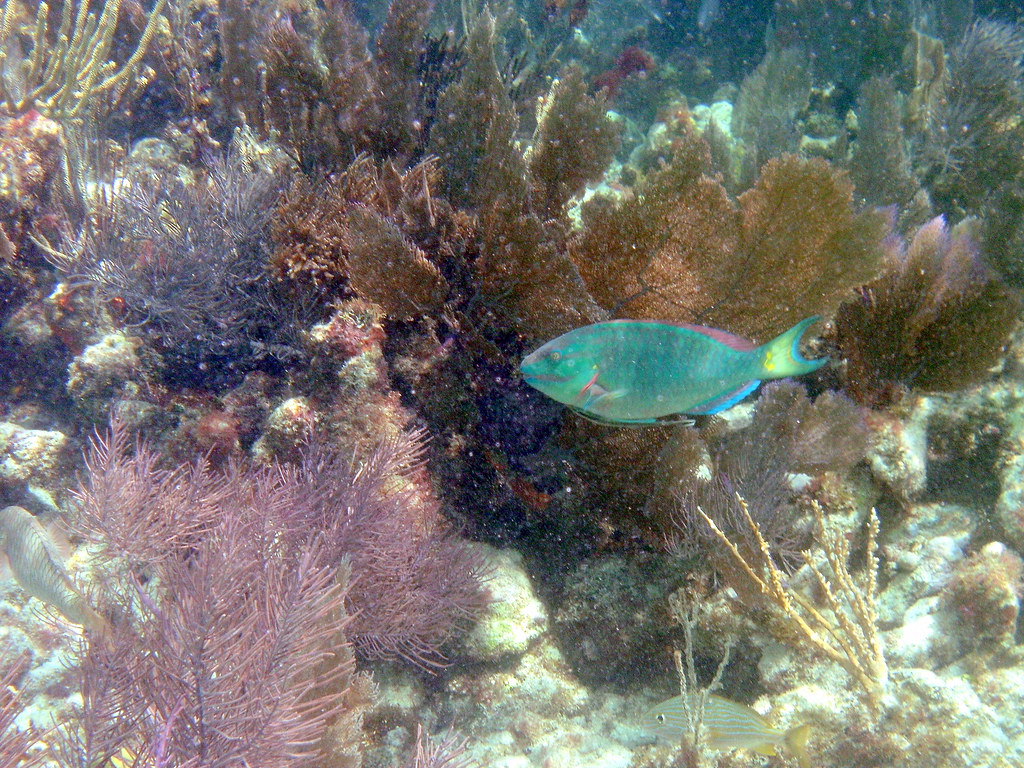
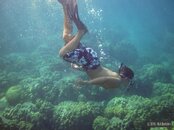
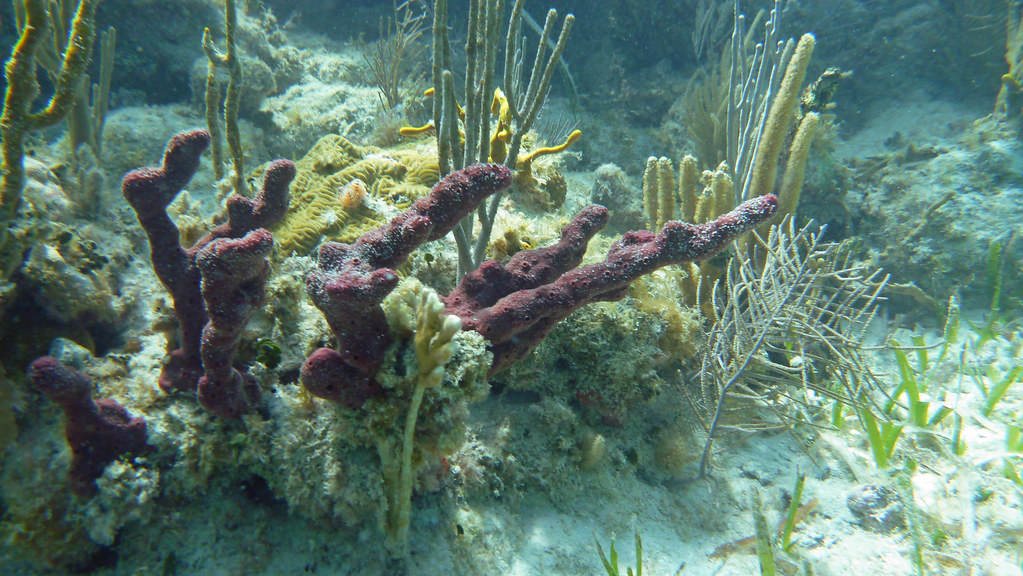
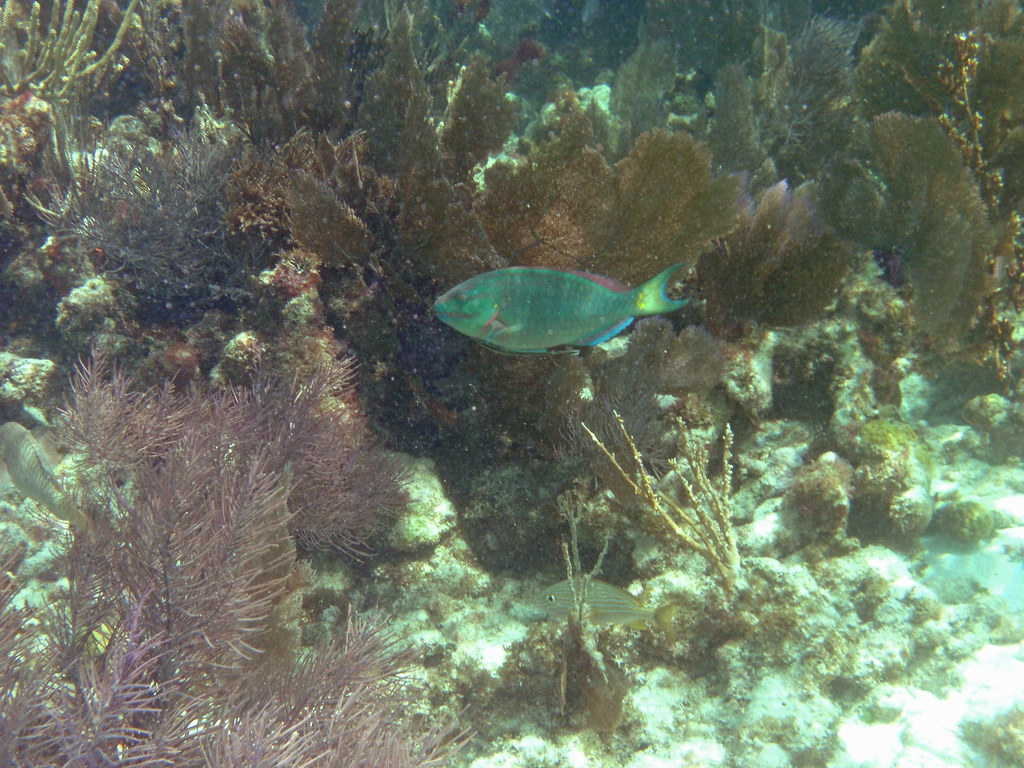
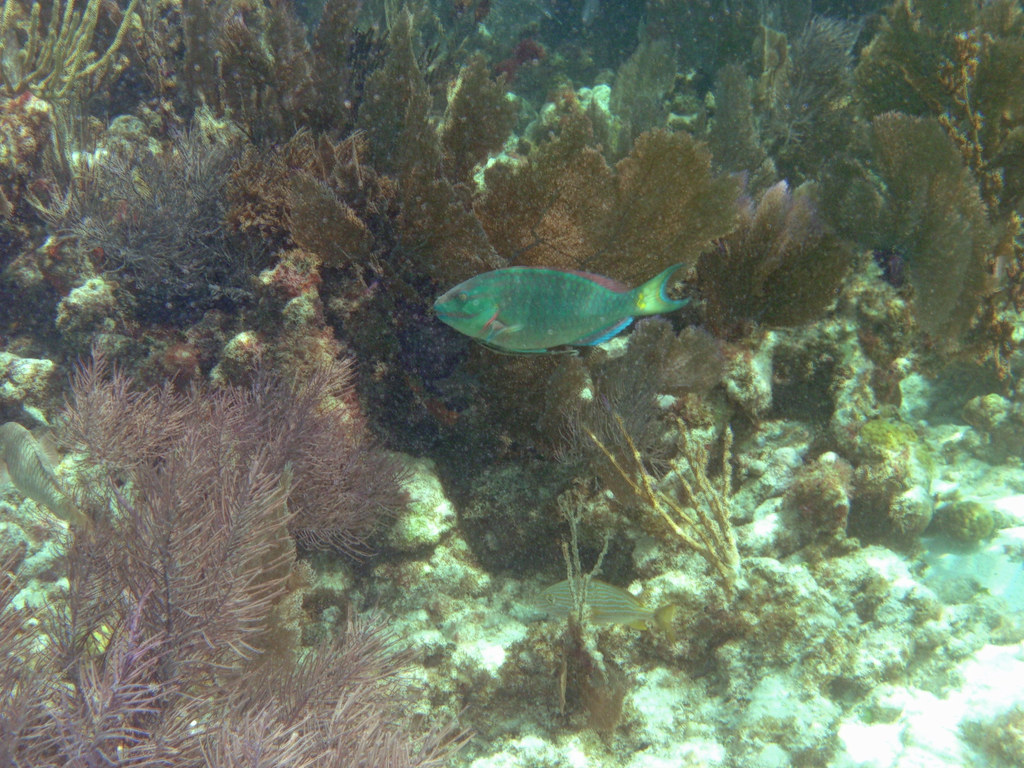
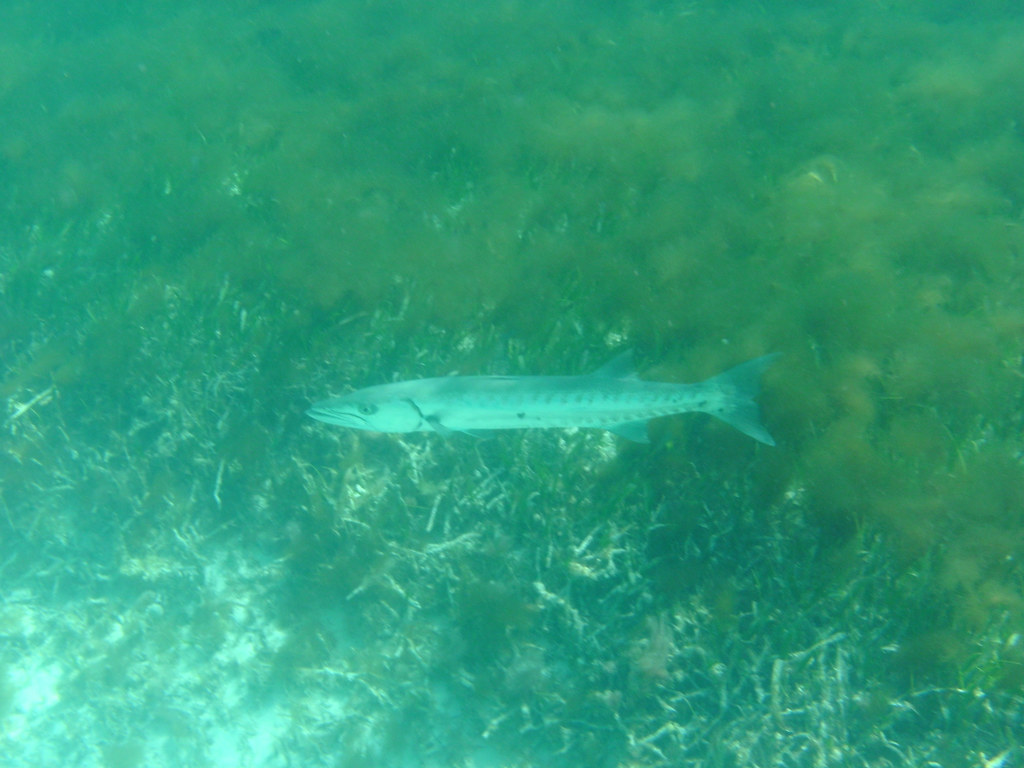
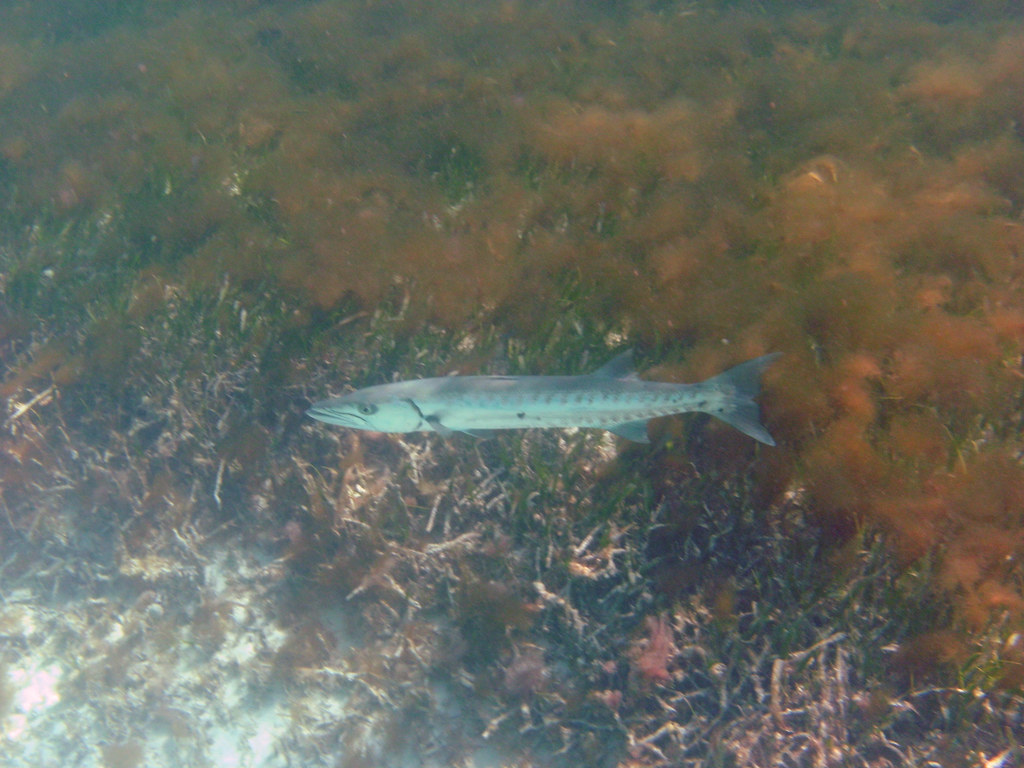
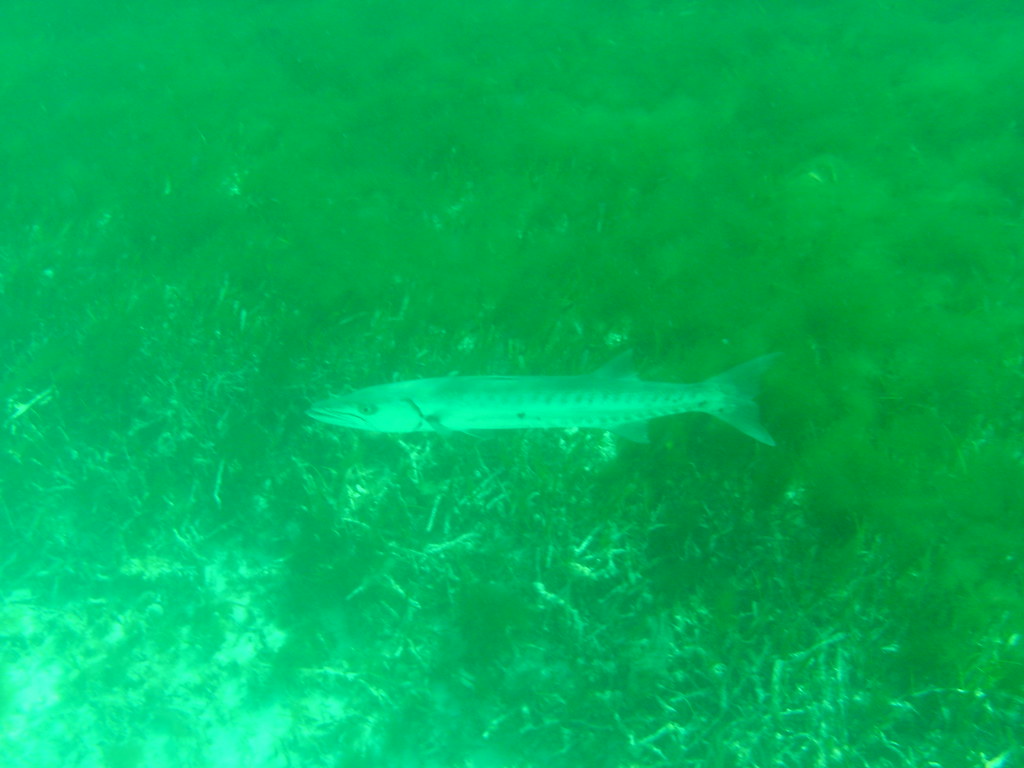
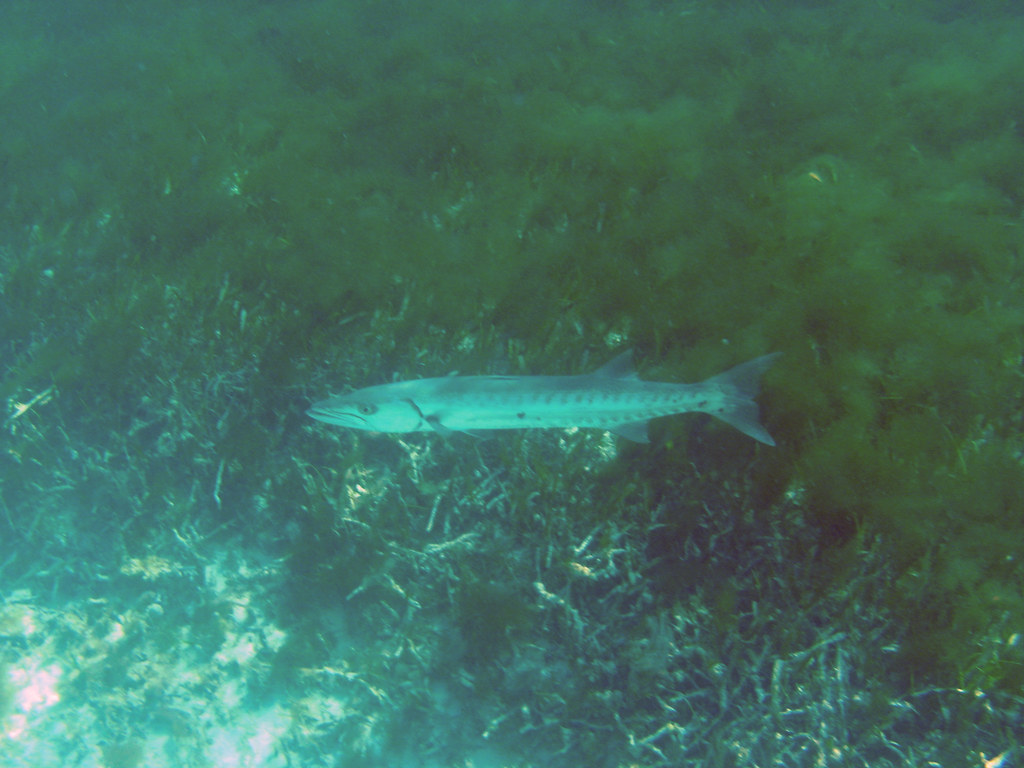
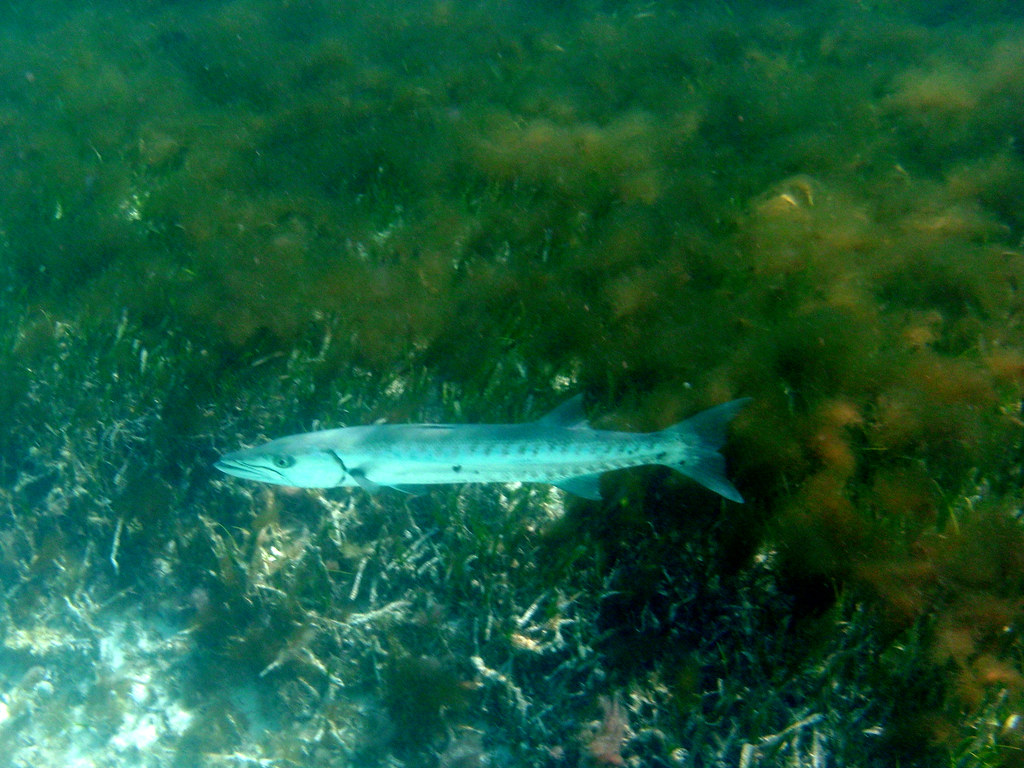
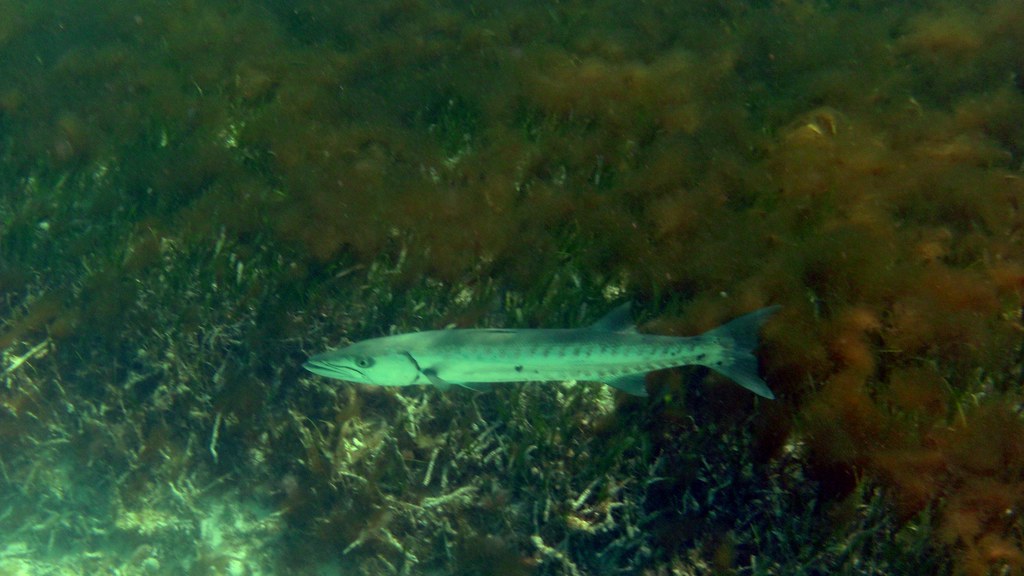
I also "snorkel dive" to get down to the fish level but I was having a heck of a time staying still because I was so buoyant w/ a 5 mil suit in open ocean. My SO snapped a couple of my attempts with the video (see below). In the sanctuary areas there seems to often be nothing to hold on to that wouldn't get you fined!

Agree with the advice on using a weight belt, I wear a 3/2 wetsuit and use 5-6 lbs(7-8 incl rubber blt, cam, etc), gets me neutral at about 15ft. For shallower photo dives, I actually go down on a reduced breath. Shortens the bottom time a bit, but has allowed me on numerous occassions to get good shots in terrain with no available "ankering" options.
 
Thanks, Aruband. I do always wear a weight belt when I dive (I do a lot of underwater swimming in the pool since I am land-locked). I think even with 13 lbs I was a bit light for snorkel depth work in my full 5-mil suit. I use 5 lbs w/ no neoprene in a pool.

As a side note for those who are interested (and as documentation for myself) I picked another image to try the two-pass autofix algorithm and this is what I got. I explained the steps in this flickr album.

Regards,
Amy

Multiple Pass Autofix - a set on Flickr

Original:

This is the original image. by huskyaddict, on Flickr

Piknik after Crop/Autofix:

This is the image after I loaded it into Picnik, cropped it and did an autofix. Seems kind of dark to me. by huskyaddict, on Flickr

Final image after rebrightening, autofix, tint, sharpen. Maybe a bit too bright on this one but I prefer this to the original autofix image.

My final image after exporting back to Picassa and doing the following: 1. Use "fill light" to brighten the image (details appear from darkness) 2. "Feeling Lucky" autofix 3. Use Tint effect to bring level of color to natural 4. Use Sharpen a bit by huskyaddict, on Flickr
 
These were taken in less than 5 feet of water!! (except the one of my son)
 

Attachments

  • Snorkel Beach 018 copy - Copy copy.jpg
    Snorkel Beach 018 copy - Copy copy.jpg
    414.3 KB · Views: 106
  • Snorkel Beach 065 copy copy.jpg
    Snorkel Beach 065 copy copy.jpg
    268.2 KB · Views: 88
  • Underwater Hawaii 011 copy copy.jpg
    Underwater Hawaii 011 copy copy.jpg
    394.4 KB · Views: 101
  • Snorkel Beach 052 copy - Copy copy.jpg
    Snorkel Beach 052 copy - Copy copy.jpg
    411.3 KB · Views: 89
WetBoy, nice pics! I saw a turtle at one of the Koolina lagunes on Oahu but didn't get that nice of a shot.

Here's the result of the "Smart Fix" from Adobe Photo Elements 9.0. All I can say is, WOW! It has an "intensity" of fixing based on a slider and you can run it more than once if you want more refinement. The pic I posted earlier today didn't have the fix intensity turned up. Easy. This will be hard to beat.

Amy

Sgt Majors School:

sgt_major_school_01_photo_elements_max_smart_fix by huskyaddict, on Flickr

Sheepshead:

sheepshead_01_pe_one_pass_smart_fix by huskyaddict, on Flickr

Purple Antler:

purple_antler_pe_smart_fix by huskyaddict, on Flickr
 
Is there a way to lessen the backscatter with that program?
 
WetBoy,

I'm sure Dave could answer this better but I was looking for something to help minimize the water spots on my lens (bad photographer) and there is a filter called "Dust and Scratches" in the Noise section that might work. It is tough though because it is essentially unsharpening the image and some real detail can be washed away. I think I'd rather live with the spots.

Amy

Just Smart Fix:

grecian_rocks_pan_01_one_smart_fix by huskyaddict, on Flickr

Dust Filter then Smart Fix

grecian_rocks_pan_06_dust_12_30 by huskyaddict, on Flickr
 
Well, I ran into an image that Photo Elements Smart Fix didn't work well for (IMO). It seemed too heavy in red. I adjusted the RGB brightness of the original image (less red, more green and blue) and then gave it back to Smart Fix and got a nicer representation of what I saw.

Amy

Image progression here: Image that failed in Smart Fix - a set on Flickr

Original:

first_barracuda_00_orig by huskyaddict, on Flickr

Smart Fix on Original:

first_barracuda_01_pe_one_smartfix by huskyaddict, on Flickr

Original with RGB adjustment:

first_barracuda_02_rd_gu_bu by huskyaddict, on Flickr

Smart Fix on RGB-Adjusted Image:

first_barracuda_03_smart_fix_after_man_rgb_adj by huskyaddict, on Flickr

Picassa crop, feeling lucky, sharpen, shadow.

first_barracuda_09_picassa_cr_lucky_sharpen_shadow by huskyaddict, on Flickr

Photoscape with auto features and 20% reduction in red and blue

first_barracuda_11_photoscape_rgb_curves2 by huskyaddict, on Flickr
 
Last edited:

Back
Top Bottom