Greetings,
I thought I would start a thread to document my progress on converting a RIX SA-6A Gas compressor to Electric and the additional steps I am taking to get it running.
The biggest web resources I used during my conversion process are a couple of threads on ScubaBoard and the yahoo group for compressors.
http://www.scubaboard.com/forums/co...-systems/266384-electric-motor-rix-sa-6b.html
Compressor_Team : Compressor
The single biggest help has been Eric at RIX who has answered every question that I posed. I cannot thank him enough.
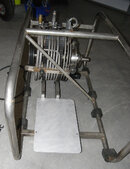
The compressor I purchased was old and needed some upgrades. It had the old white fan, and the single belt pulleys. It did come with a stainless 3rd stage cylinder head along with about half of the parts needed to overhaul the compressor. It had not been run for over 3 years. I ordered the new fan and most of the remaining parts needed to overhaul the compressor.
I wanted to convert the system to use two belt (for some unknown reason :>) so I ordered the compressor pulley from RIX. I will say that the bushing system used to mount this Martin pulley makes it much easier to pull the pulley for maintenance of the heads.
The parts needed from RIX are:
36-B5132 Compressor dual belt sheeve
11-100TL1610 Taperlock bushing
91-A4423-1 Key
I ordered 1 belt from RIX, and another identical belt elsewhere for half the price.
Gates 3VX425 Super HC V-Belt
I ordered a Leeson Motor from Amazon.com (only spot that had them in stock at the time). The model number I selected is based upon its use in a previously documented Gas to Electric conversion.
Leeson Electric Motor 5hp 1ph 230Volt 145T 3450 rpm 7/8" shaft - 120554
I ordered the magnetic starter and switch from:
49SBPB5 Siemens Integral Pushbutton Kit Small Case Starters
WS5-2301P Siemens 5 HP Magnetic Starter NEMA 1 230V Single Phase
www.electricmotorsite.com
And a 145T base plate from The best way to buy industrial controls--low prices, fast shipping and superior service.
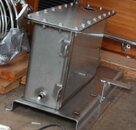
To mount the 145T base plate on the gas compressor frame, a machinist fried cut me an adapter plate that matched the base of the base plate. I must say that he overdid it by using a cad/cam system with a bead blasted finish. Once the motor arrived I drilled out holes for the baseplate to give a good allow the pulleys to line up. The bolt holes for the adapter to the 145T base plate end up straddling the mount for the gas motor.
I needed to cut a 6" by 1" section out of the belt guard to provide clearance for the electric motor. The electric motor RIX uses must come with a longer shaft, as this is unnecessary for their electric version of the compressor.
It turns out that a compatible dual belt pulley for the motor is hard to find unless you order a Martin pulley from the same line. After getting the wrong parts the first time, I ordered:
2/3V3.15 VT-1210 SHEAVE Martin
1210 7/8 BUSHING
from https://www.motionindustries.com
The dual belt conversion is not necessary and adds more than $300 to the conversion cost.
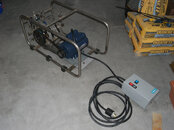
I added a L6-30 220V outlet to my garage, and put a 15ft outdoor 10-3 rubber jacketed cord on the compressor. The most time consuming part was dealing with the drywall.
I am planning on making adapter cords to allow the compressor to be plugged into either 3 or 4 prong dryer connections when I travel to rental houses for cave diving.
During assembly, I cleaned up the grease and grime on the frame and compressor as much as possible prior to lubing up a starting the compressor. The first time I turned the compressor on, it ran smoothly, but did not pump gas
The next steps that are in progress are:
overhauling the compressor, and
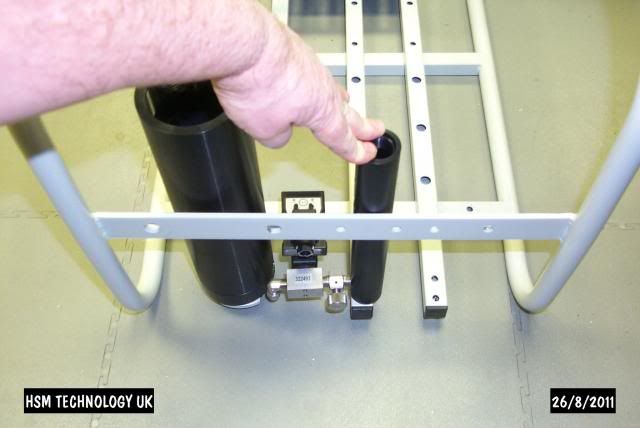
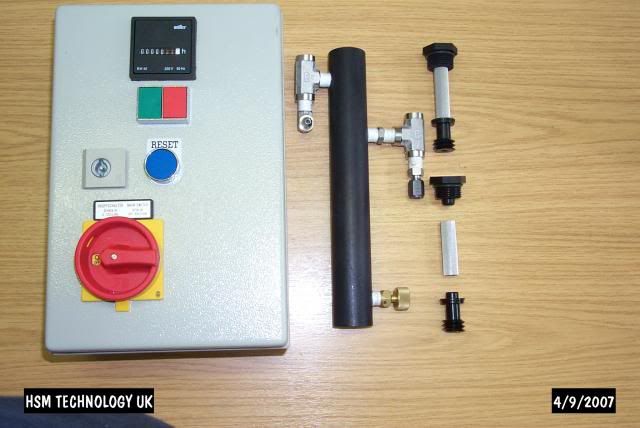
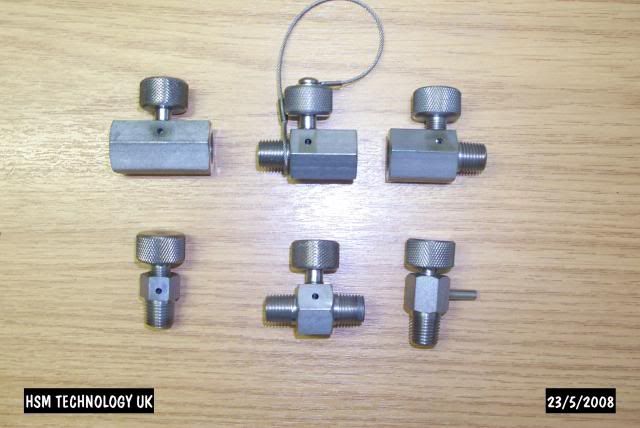
assembling a trimix mixing stick.
Keith
I thought I would start a thread to document my progress on converting a RIX SA-6A Gas compressor to Electric and the additional steps I am taking to get it running.
The biggest web resources I used during my conversion process are a couple of threads on ScubaBoard and the yahoo group for compressors.
http://www.scubaboard.com/forums/co...-systems/266384-electric-motor-rix-sa-6b.html
Compressor_Team : Compressor
The single biggest help has been Eric at RIX who has answered every question that I posed. I cannot thank him enough.
The compressor I purchased was old and needed some upgrades. It had the old white fan, and the single belt pulleys. It did come with a stainless 3rd stage cylinder head along with about half of the parts needed to overhaul the compressor. It had not been run for over 3 years. I ordered the new fan and most of the remaining parts needed to overhaul the compressor.
I wanted to convert the system to use two belt (for some unknown reason :>) so I ordered the compressor pulley from RIX. I will say that the bushing system used to mount this Martin pulley makes it much easier to pull the pulley for maintenance of the heads.
The parts needed from RIX are:
36-B5132 Compressor dual belt sheeve
11-100TL1610 Taperlock bushing
91-A4423-1 Key
I ordered 1 belt from RIX, and another identical belt elsewhere for half the price.
Gates 3VX425 Super HC V-Belt
I ordered a Leeson Motor from Amazon.com (only spot that had them in stock at the time). The model number I selected is based upon its use in a previously documented Gas to Electric conversion.
Leeson Electric Motor 5hp 1ph 230Volt 145T 3450 rpm 7/8" shaft - 120554
I ordered the magnetic starter and switch from:
49SBPB5 Siemens Integral Pushbutton Kit Small Case Starters
WS5-2301P Siemens 5 HP Magnetic Starter NEMA 1 230V Single Phase
www.electricmotorsite.com
And a 145T base plate from The best way to buy industrial controls--low prices, fast shipping and superior service.
To mount the 145T base plate on the gas compressor frame, a machinist fried cut me an adapter plate that matched the base of the base plate. I must say that he overdid it by using a cad/cam system with a bead blasted finish. Once the motor arrived I drilled out holes for the baseplate to give a good allow the pulleys to line up. The bolt holes for the adapter to the 145T base plate end up straddling the mount for the gas motor.
I needed to cut a 6" by 1" section out of the belt guard to provide clearance for the electric motor. The electric motor RIX uses must come with a longer shaft, as this is unnecessary for their electric version of the compressor.
It turns out that a compatible dual belt pulley for the motor is hard to find unless you order a Martin pulley from the same line. After getting the wrong parts the first time, I ordered:
2/3V3.15 VT-1210 SHEAVE Martin
1210 7/8 BUSHING
from https://www.motionindustries.com
The dual belt conversion is not necessary and adds more than $300 to the conversion cost.
I added a L6-30 220V outlet to my garage, and put a 15ft outdoor 10-3 rubber jacketed cord on the compressor. The most time consuming part was dealing with the drywall.
I am planning on making adapter cords to allow the compressor to be plugged into either 3 or 4 prong dryer connections when I travel to rental houses for cave diving.
During assembly, I cleaned up the grease and grime on the frame and compressor as much as possible prior to lubing up a starting the compressor. The first time I turned the compressor on, it ran smoothly, but did not pump gas
The next steps that are in progress are:
overhauling the compressor, and
assembling a trimix mixing stick.
Keith