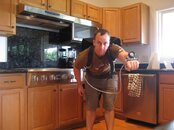
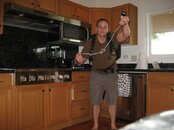
I have a 10w HID primary light (Diverite head, unknown derlin canister/battery) that has a long cord. With the canister on my right hip, and the cord going to the light in my left hand, there's quite a bit hanging down. If I take a wrap of cord around my forearm, it keeps it up and out of the way, but that's not what it's supposed to do.
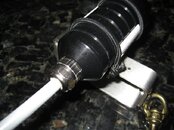
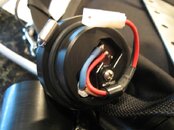
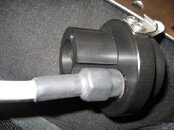
How do I shorten it? Looks like a two piece fitting where the cable goes into the canister- can I just take it apart, cut and solder, and screw fitting back together? I don't want to flood my battery...
How do I shorten it? Looks like a two piece fitting where the cable goes into the canister- can I just take it apart, cut and solder, and screw fitting back together? I don't want to flood my battery...
") but you have to know what you're doing. It's not something complicated but ... However, maybe you should try canister before putting batteries inside: put some weights inside (to prevent canister being too floaty), put inside something that will show signs of leakage if any (like soft paper) and make a test dive.
but you have to know what you're doing. It's not something complicated but ... However, maybe you should try canister before putting batteries inside: put some weights inside (to prevent canister being too floaty), put inside something that will show signs of leakage if any (like soft paper) and make a test dive.